Import – Netcash statement using bank manager for Sage 200 Evolution
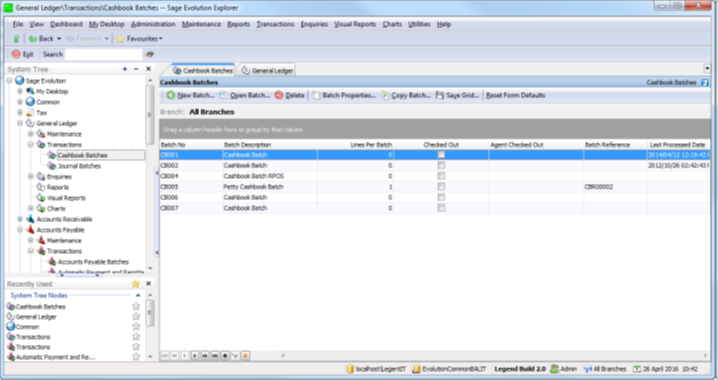
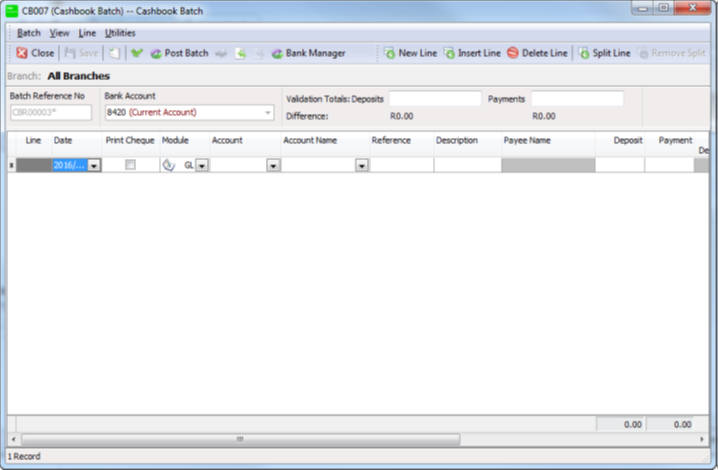
Estimated reading: 1 minute
418 views
- Navigate to General Ledger > Transactions > Cashbook Batches.
- Select your Netcash Cashbook from the list or create a dedicated Netcash Cashbook.
Open the Cashbook:
- Click on Bank Manager.
You have the option to set up an automatic feed or manual import.
- Select the Automatic Netcash Feeds layout from the drop-down menu.
- Click on OK.
- Bank Manager will display a summary of the statement:
- Click on the Continue.
- Transactions will populate the Statement Preview grid. Use the Bank Manager functions to perform mappings, import, or export actions and to submit the statement into Sage Evolution.
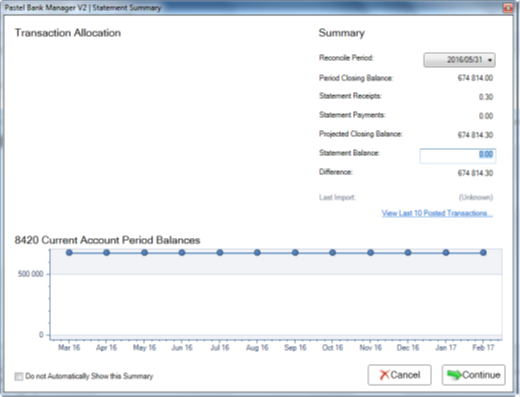
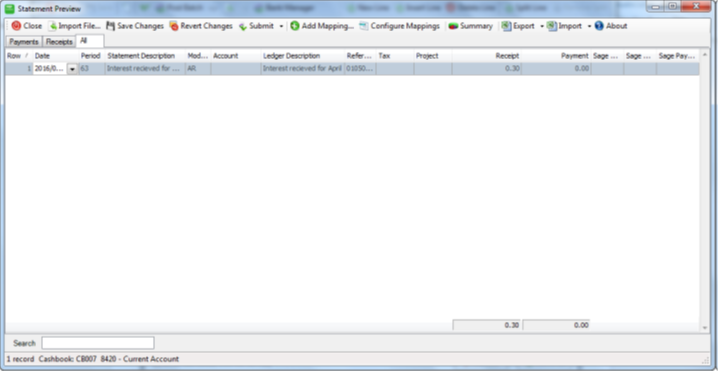
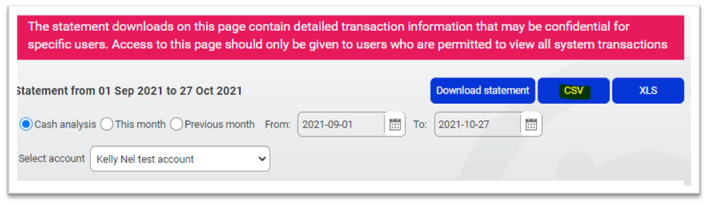
Manual Netcash statement import to Evolution.
- Login to Netcash – merchant.netcash.co.za
- Click on Services /Account / Reports/ Statement download
- Select the date range and click on CSV
The file will save to the downloads folder on your pc and can be imported into Bank Manager.
- Click on the Bank Manager button.
- On the drop-down select Netcash
- Search for the statement in the downloads folder and click on Ok