Donations plugin for WordPress

Receive donations and fundraise effortlessly with our dedicated WordPress Plugin. You can start accepting once-off and recurring donations instantly.
You will need:
To connect your Netcash PayNow Payment Gateway to your WordPress account, you will need to generate a unique service key and connect this to the Netcash Donations plugin.
The first step will be to generate the service from within your Netcash account
Download the up-to-date plugin directly from our website here.
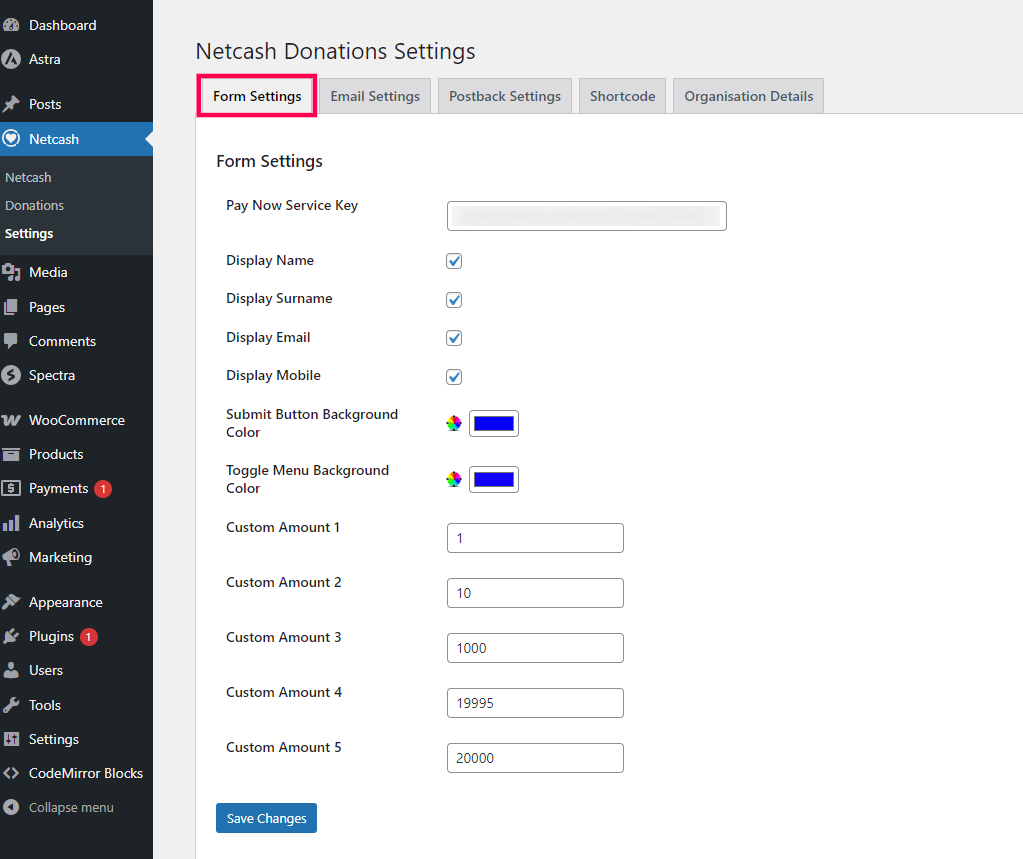
Configure your form settings by customising the following:
Display Options: Toggle options to show/hide fields like Name, Surname, Email, and Mobile Number.
Customisable Colours: Adjust button colours, toggle background colours, and donation amount background colour.
Customise preset donation amounts.
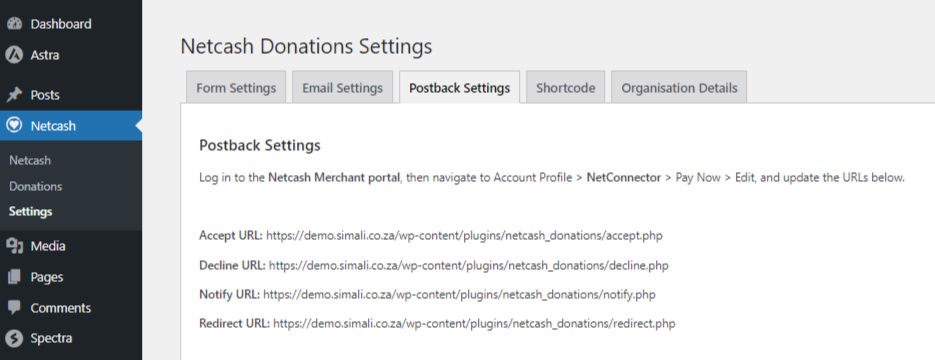
Postback URLs allow the payment gateway to send updates about the status of a transaction (such as successful payments or failed transactions) directly to your system.
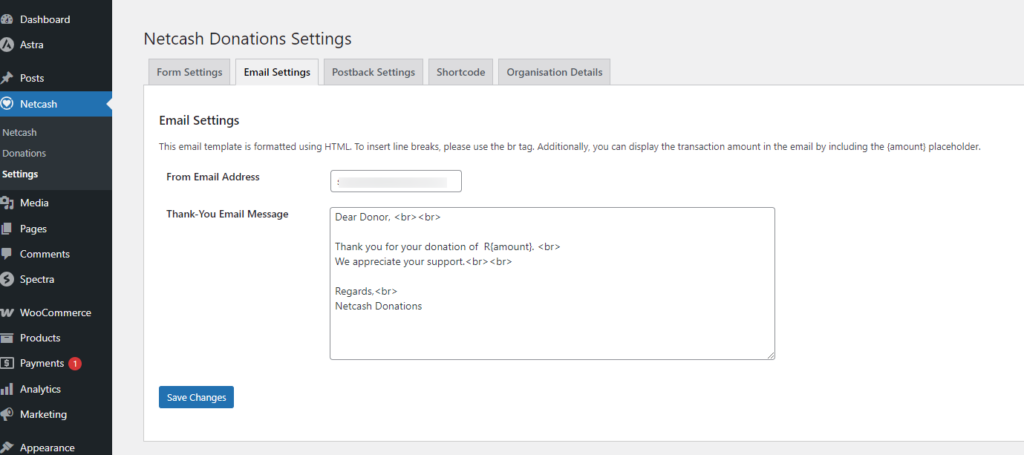
Email Settings will allow you to customise the email address that the donor will see in their email inbox.
Include a thank you message that your donors will receive on completion of their transaction. This will need to be written in HTML.
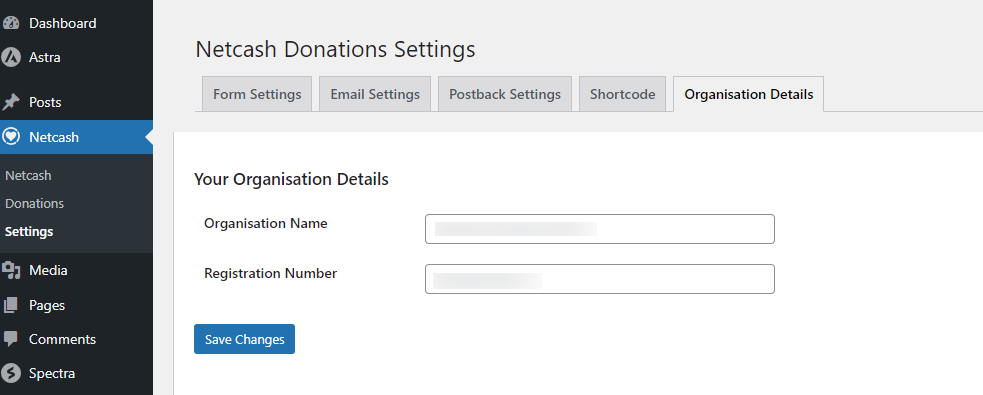
This will include customizable fields for your organisation name and organization registration number.
A shortcode is a WordPress-specific code that can embed files or create objects without the use of long lines of code.
In edit mode, the shortcode will be shown. When you preview or view the page publicly, the intended content will show instead.
To view your Admin Dashboard, go to Netcash > Donations to view a detailed overview of donations, including timestamps, reference numbers, donor information, and status.
You can also view the individual transaction details by clicking on the eye icon to manage the transaction or print a detailed donation certificate.
Within the individual transaction details, you will be able to see the following:
By clicking on the ‘Change Status’ button, you will be able to:
Completed orders will have a button to download the donation certification. This will include the organisation details and a summary of the transaction.
*All transactions are processed and logged within your Netcash account.
