WeConnectU

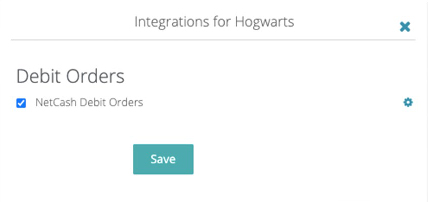


The client notifies WeconnectU that he has signed agreements with Netcash and would like to activate the integrated services to his account. WeconnectU activates this.
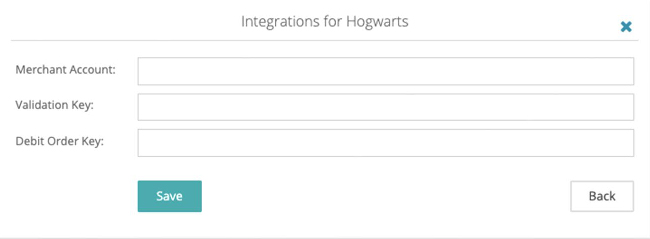
The client obtains relevant keys from Netcash relating to each Community and does setup on WeconnectU.
Input relevant keys and save.
WeconnectU system will automatically create a Netcash debit order bank account.
The client sets up a default Debit Order Control Account under default billing accounts.
The client sets up debit order mandates for each customer in Finance – Setup Customer section
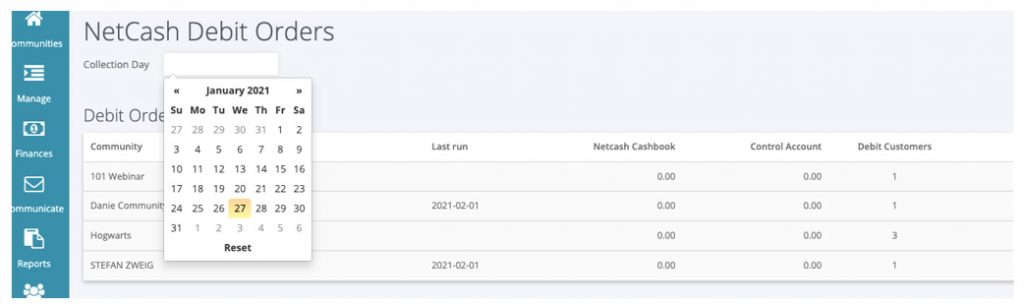
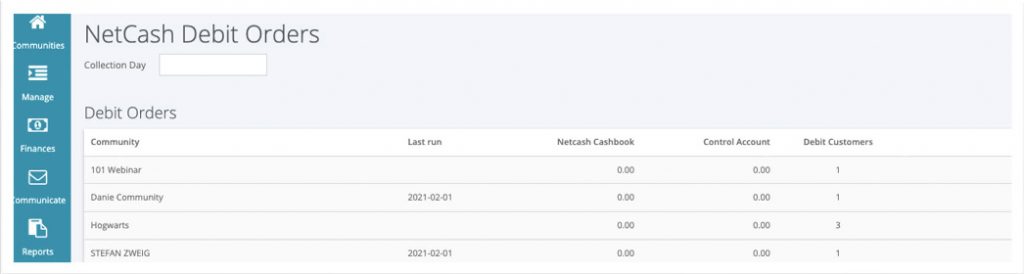
Submitting Debit Orders to Netcash
Navigate to Overview > Finance > Netcash Debit Orders
Select action date
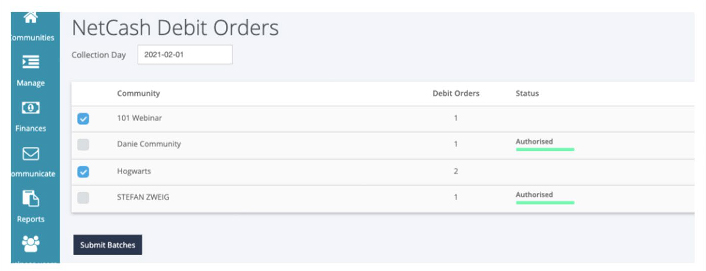
Select communities which debit orders you want to submit and submit batches.
Wait a couple of minutes to confirm batch has been authorized. See the status bar for reference.
Netcash will submit a statement file to WeconnectU on a daily basis
Transactions will auto-allocate to customers
Allocate disbursement amount on Netcash cashbook to debit order control account
Allocate the disbursement amount received in the current account to the Debit Order control account
This should zero the debit order control account
Check recon on the Overview Netcash Debit Order page
Drill-down functions to detail are provided for each reference
